


Traveling solo is empowering and all, but sometimes it sucks not having pictures of yourself when you’re traveling to all these amazing places. All the photos you took of the intricate architecture and surreal landscapes could look like all the other pictures from Google images. When asking a stranger to take a picture of you, 90% of the time, they turn out terrible, so what’s a girl to do? Take the picture yourself of course! Here is how I do it:
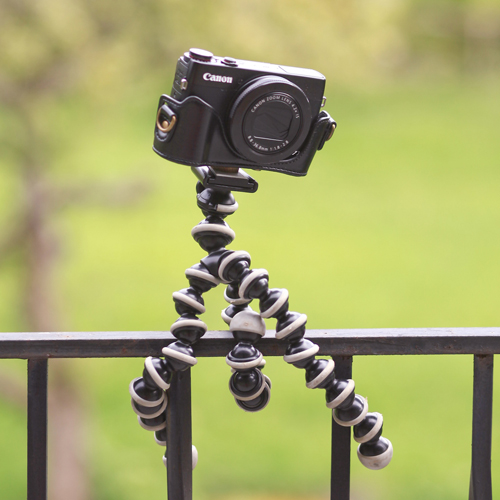
 My favorite camera accessory is my JOBY GorillaPod
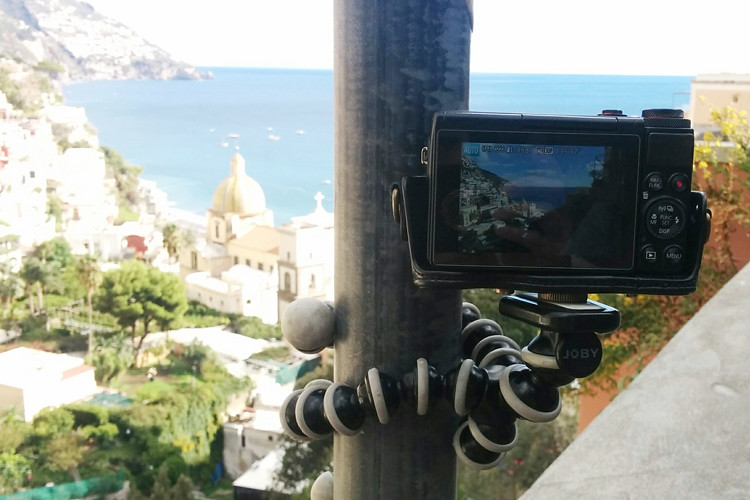
, which is a flexible tripod. Its legs can be moved to wrap around a pole, bench, anything! Or you can just use it as a regular tripod and set it on the ground or table.
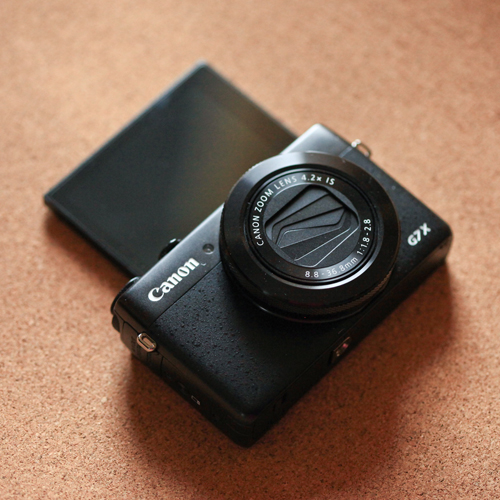
It’s also helpful to have a camera that has a flip out screen so you can see yourself on the screen to get the composition right. The camera I use is Canon G7 X (I have an old version. There’s a newer version called Canon G7 X Mark II
if you want to spend a bit more money.) Figure out where to position yourself, set the camera to self-timer, and you’re good to go!
If I’m standing too far away to be able to see myself on the camera screen or if 10 seconds is not enough time for me to run into position, I use my phone as my remote camera shutter.
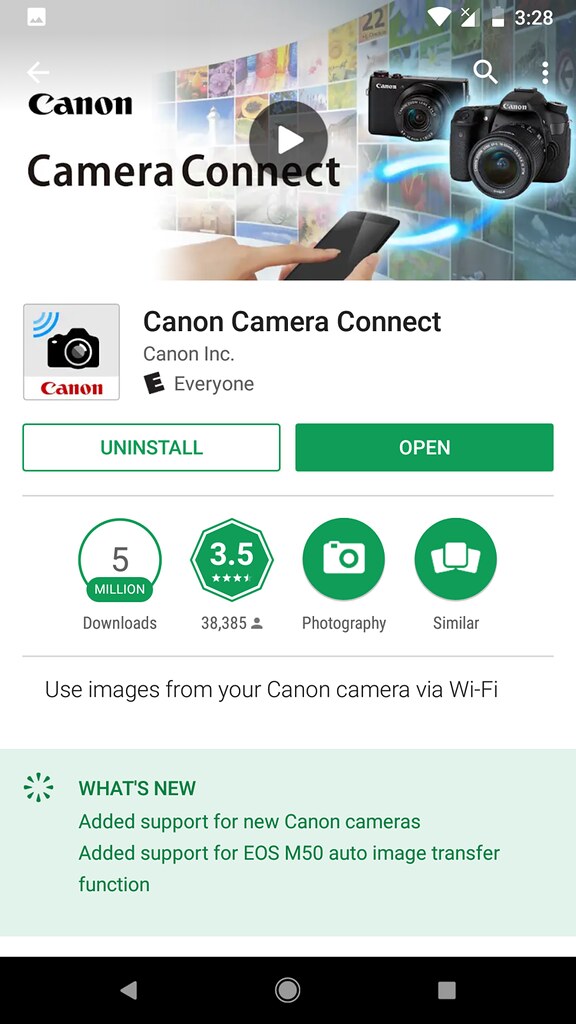 There’s an app for that! There’s an app for everything. My camera is a Canon, so I installed the Canon Connect app. Open the app.
 On the side of the Canon G7 X, is a button with a smartphone icon next to it. Press the button to have it connect to your phone.
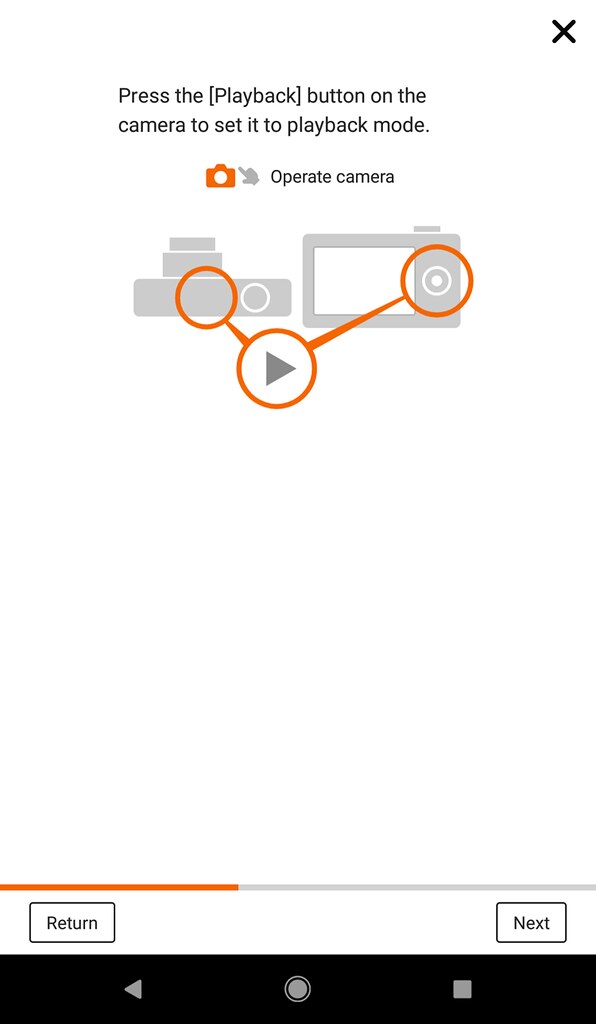
 With the app opened, click on Easy Connection Guide to connect your phone to your camera. The easiest way to do this is if there is wifi available. The camera and phone will connect with each other through the wifi.
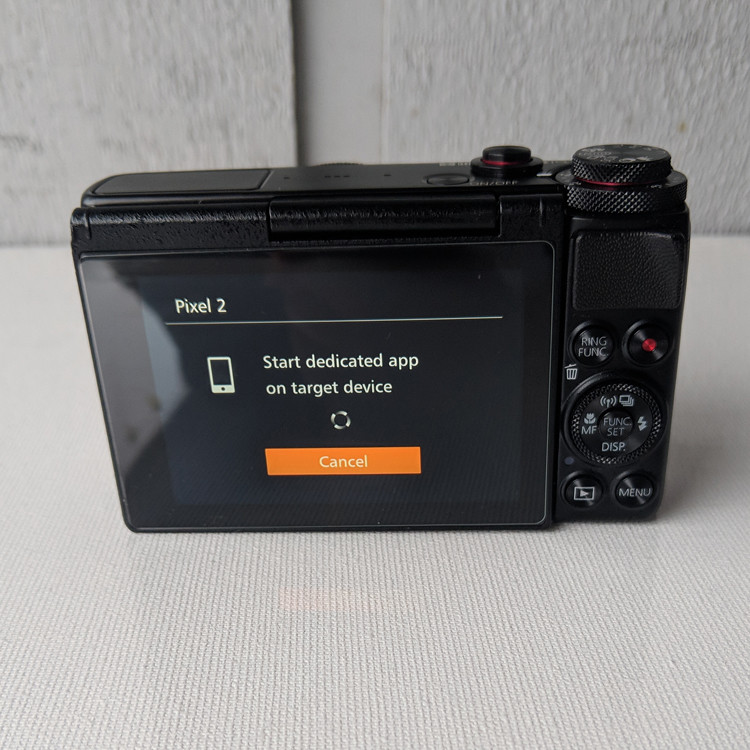 The camera will start searching for devices and you can select your phone.
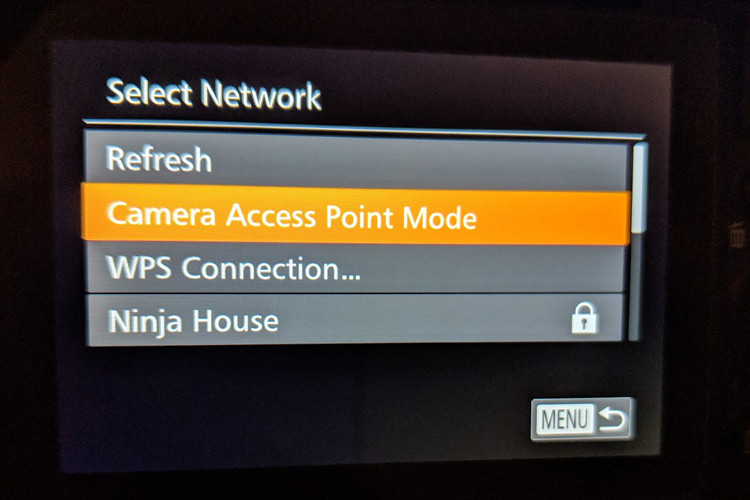 If there is no wifi available, you can use the camera’s wifi. Yes, the camera has its own wifi!

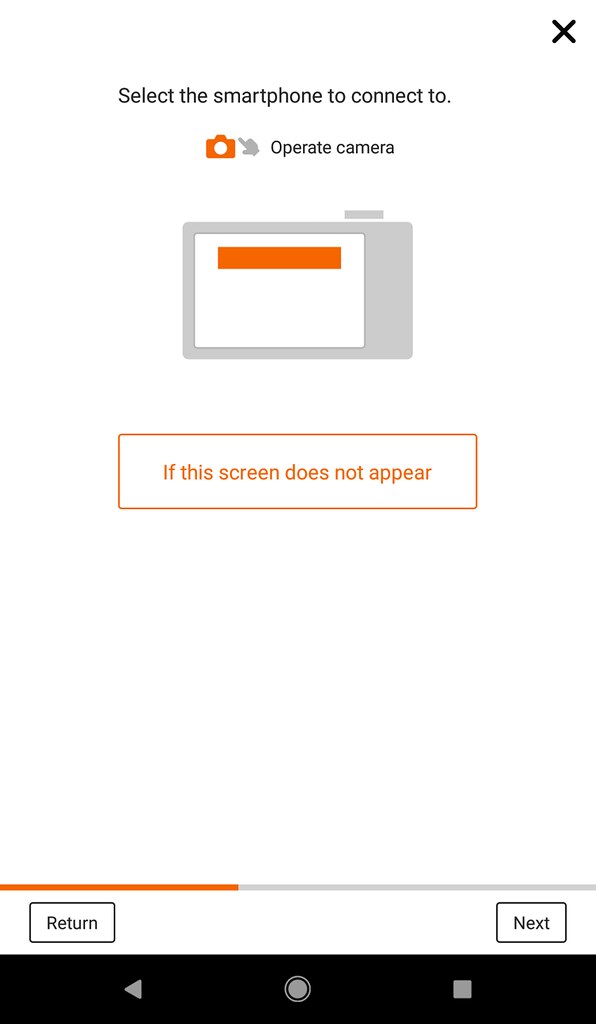
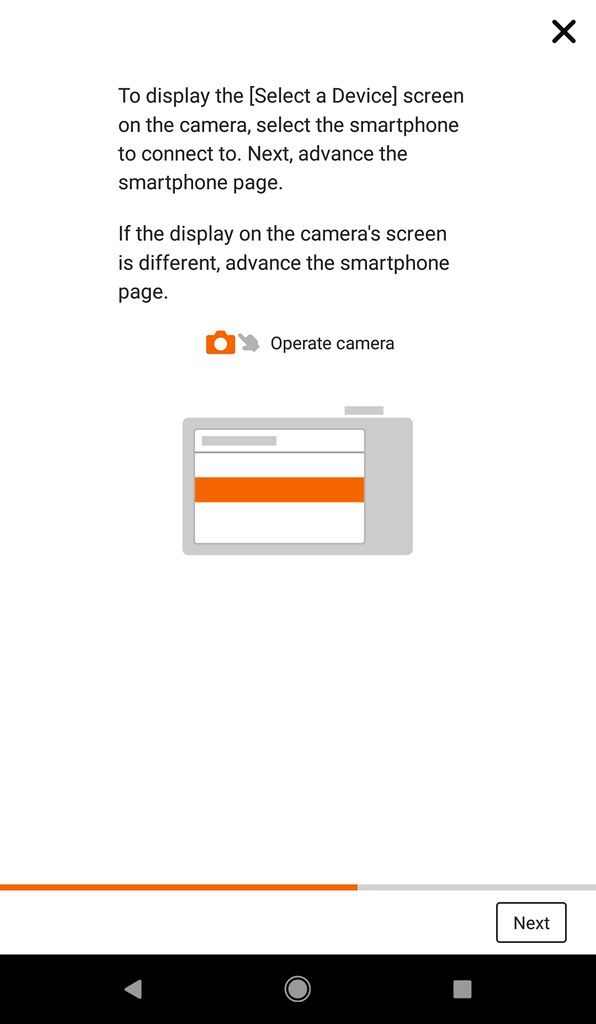
On the app, select the camera and it’ll take you to the next screen and will give you directions on how to connect your phone and camera together using the camera’s wifi.
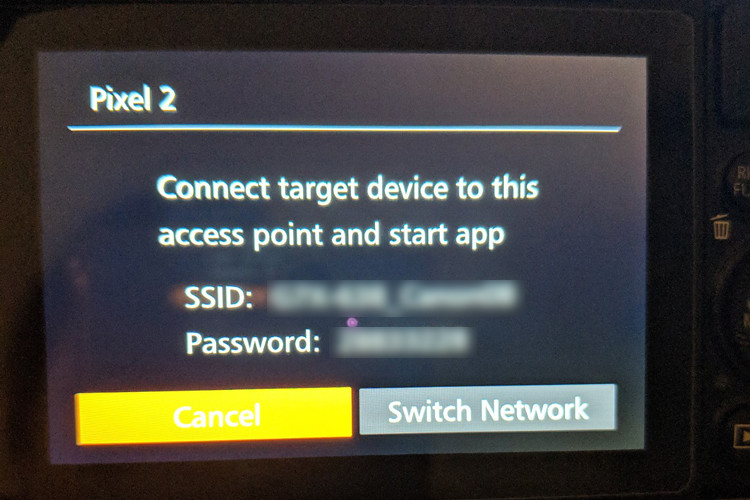 On the camera, it would show the camera’s SSID and it’s password. Using your phone, connect to the camera’s wifi the same way you would connect to normal wifi.

Once you have that connected, this prompt will pop up on the phone. Click it to confirm connecting the phone to the camera’s network.
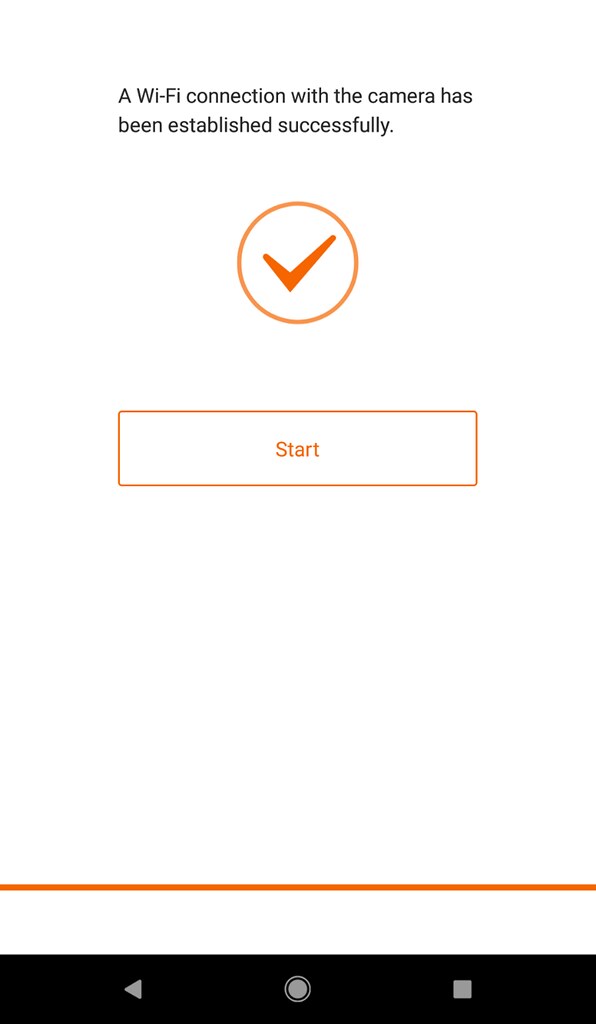 Keep clicking next on the bottom and you’ll eventually be done connecting them. Press start to begin!
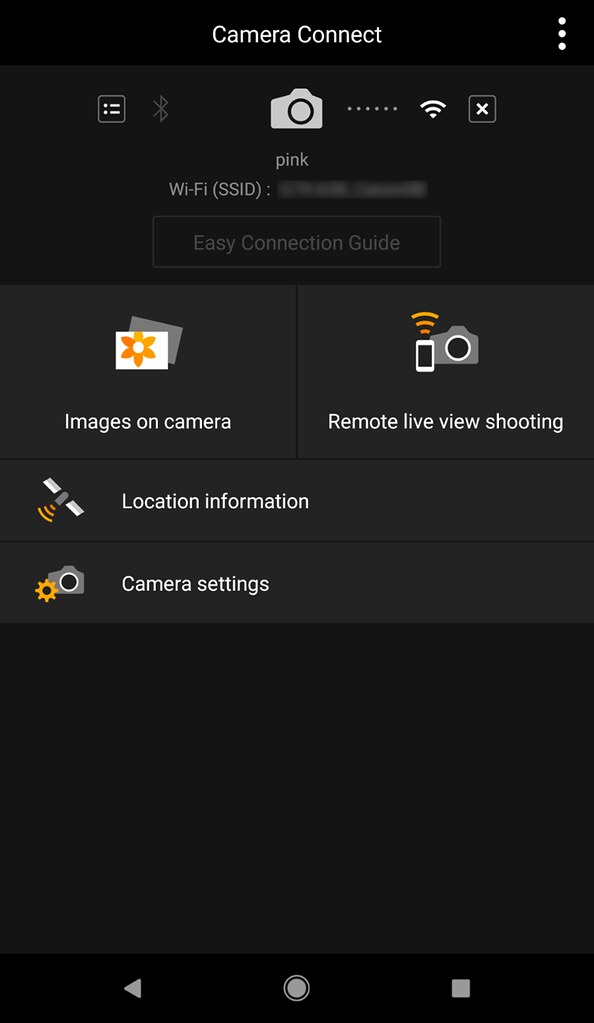
Click on Remote Live Shooting and it’ll take you to the next screen where you will see exactly what your camera is seeing… right on your phone!
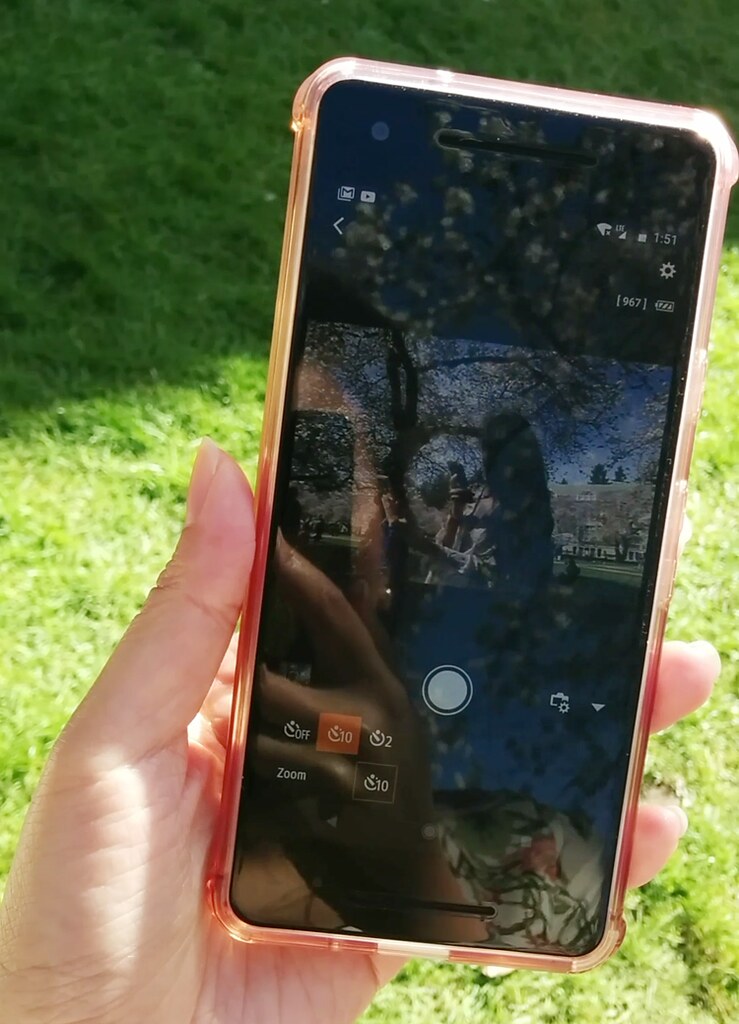 Isn’t that cool?! You can even set the self-timer on this screen. Doing this makes positioning myself for the right composition much easier!
 Here is the photo I took using my phone as the remote camera shutter. Another cool feature is you can actually see the images on your camera right on the phone too, so you don’t have to walk back and forth to the camera to look at the photos, though it’ll be a bit laggy to view them on the phone!
If you want to see a video of me giving a quick tutorial on using a phone as a remote shutter, head over to my Instagram @dianajlee and watch my Selfie Tutorial story highlight (this can only be viewed on the Instagram app). I hope this tutorial on how I take self portraits has been helpful in getting the exact shot you had in mind. Who needs an IG husband when you got yourself?!
Happy snapping!
-Diana